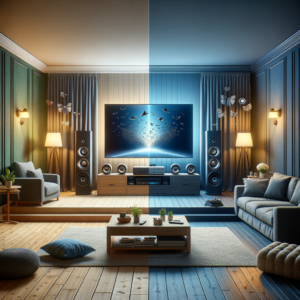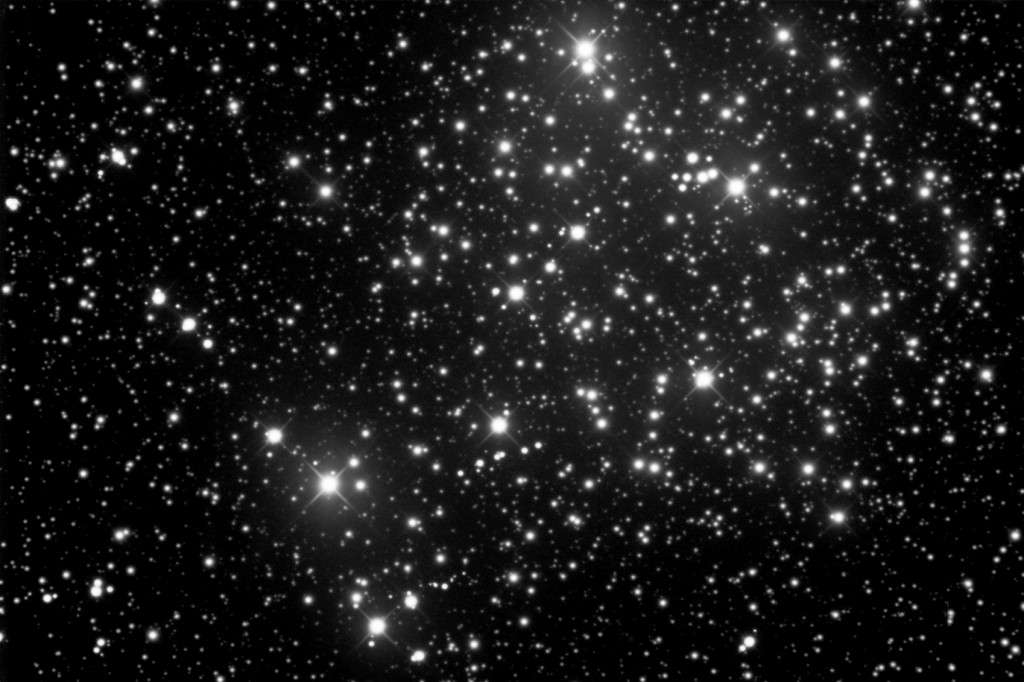
Does your home cinema seem to be lacking the perfect theatrical atmosphere? There’s no reason every home cinema shouldn’t be a relaxing escape from the world outside, a place where movies come to life and you can let your imagine run freely. Our solution? A starfield panel, the perfect way to establish a dramatic yet calming effect that your family and guests will enjoy. The panel produces a striking star-field effect for the perfect movie setting that illuminates the ceiling when you dim the lights. Aside from strictly home theaters, it can also enhance game rooms, media rooms as well as commercial entertainment venues such as restaurants and bars. In addition to its impressive visual element, it also acts as an absorbent acoustic panel that can help to enhance sound quality. The panel is constructed from rigid, high-quality “1 fiberglass that is covered with a fire-resistant acoustic fabric. The fiber optic strands can be adjusted to the desired lighting effect using either dim, medium or bright effects. An LED light is used to generate randomized twinkling using a digital chip for a more realistic presentation.
If you’re ready to install your own night sky into your home theater, then follow this step by step instructional to creating the drama of the ourdoor skies all on your own. First, you’ll need to research the type of lighting you want to you use as well as how much surface area you’ll need to cover. The two main essentials you’ll need for this project are the light source and fibers. Illuminators fall into two categories, Halogen or LED. The Halogen type uses a flicker wheel to create the twinkling while the LED uses a timer-controlled blinker. This type of illuminator lighting is easy to find and can be purchased online. You will also want to order your given amount of fiber and also a control remote. Next, you will temporarily mount and drill holes for the illuminator. Find out where you want to place the light box and turn it on, you will see a large spotlight on the ceiling after doing so, this will be the spot where you’ll want to drill. After you coil the fiber inside the attic you can start drilling, filling and glueing which makes up the bulk of the project. In order to start drilling holes for stars, make sure to clear out all the insulation from your ceiling. Once you have the drywall exposed you can begin drilling. Make sure to mark spots with a sharpie of your star placement before drilling.
After you’ve finished drilling, you’ll want to thread the fiber through the holes. Thread them almost all the way through, you should have a lot of excess fibers hanging out. Next, you will dab glue into each hole and around the fiber to secure it in place and prevent air leakage. Drill, fill and glue in one area at a time and make sure to keep a random pattern. You can whatever placement you want just make sure there are no gaps, you can get creative and do clusters or even illustrate your own constellations. After you are done with that step, make sure to replace the insulation you moved. Now you can take clippers to whatever excess fibers are hanging and clean up. Double check for any problems and if everything looks good than you are ready to turn off the lights and take in your finished result!
If you have any problems installing the star ceiling yourself or you would rather use a professional set of hands to construct your starfield ceiling, contact TV Installation Houston today, click here!